When I started doing web development, I think I started the way a lot of us did. You have a site you want to work on, so you connect with FTP, download a file, modify it, upload it back up, and then refresh the page to see if your changes worked. This process doesn’t really work when you’re working with a team of people, or on a site that people are actively going to. If your teammate edits the same file as you, someone’s changes may be lost, and if you upload something with an error in it, you may break the site for people currently browsing it. This isn’t a fun process.
The solution to combat this “cowboy coding” is to not work directly on a server, but rather on a server that is on your local machine. There are a ton of ways to do this, and I’ll walk you through what I do.
When doing any sort of design or development, you want to work locally. This is the best way to develop, and has tons of benefits. Like these:
- Faster. No waiting for files to upload via FTP before you can refresh your browser and see your changes.
- Easier debugging. Because everything is running on your system, setting up and using xDebug or other debugging tools is quite a bit easier.
- Don’t need an internet connection work on things.
- Less fear of screwing up. When working locally, you’re free to experiment and play around, as your work is not affecting current users.
I use Vagrant and a nifty tool called Varying Vagrant Vagrants (VVV) to power my local development. This, coupled with some tools I’ve written to make my life easier, is a very enjoyable way to work locally. I’ll walk through setting up VVV, as well as a helper tool VV, and how to use both.
So what’s Vagrant?

Vagrant is a toolkit that runs on top of VirtualBox, VMWare, or another virtual machine provider on your local machine. Vagrant will allow you to work with these virtual machines to run your code, while you keep your entire workflow on your local computer.
Vagrant is configured all within one file–the Vagrantfile. This allows you to just do a “vagrant up” on the command line, and Vagrant will set up a virtual machine configured exactly how it should be.
Vagrant allows you to create Vagrant boxes, which are basically an image of a machine that you can pull down. This, coupled with some nifty provisioning code, is what gives VVV its magic.
What is VVV?
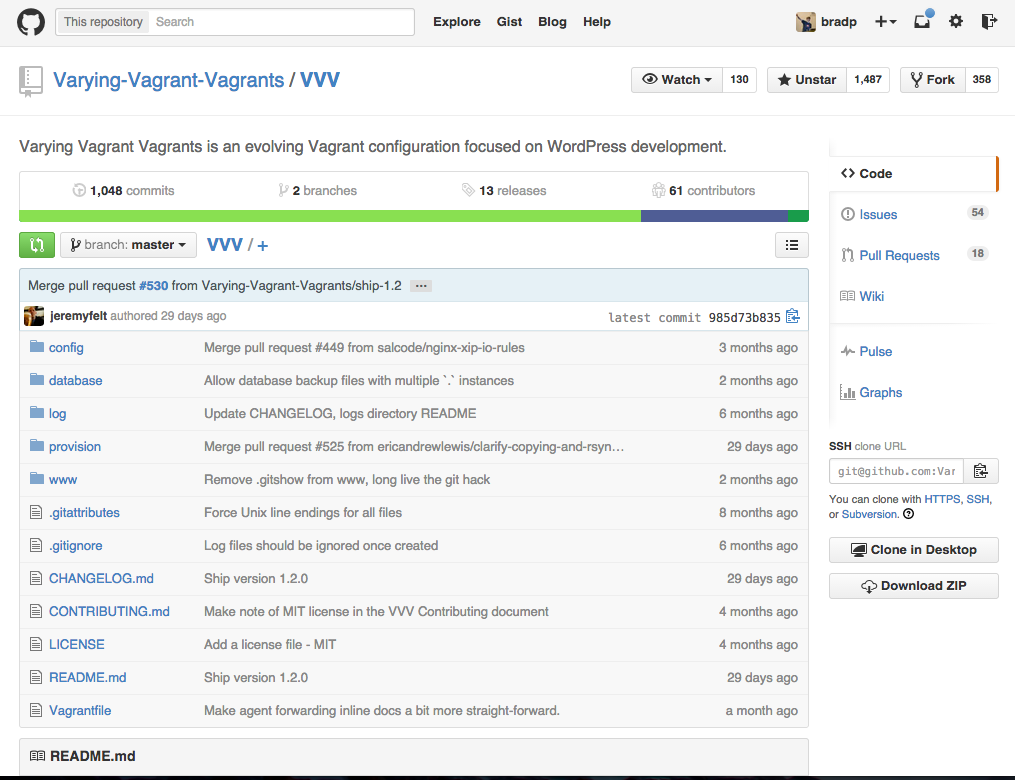
Varying Vagrant Vagrants is a Vagrant setup that provides a great start for local WordPress development. Whether you’re building plugins, themes, or full site, a local VVV installation is the best place to do your development.
Setting up VVV
Getting VVV set up is pretty simple. You can follow along with the guide here .
- First you’ll want to install VirtualBox. You can probably switch this out for VMWare or something else, but Virtualbox is free and works perfectly for our needs.
- You’ll also want to install Vagrant. VVV’s README recommends Vagrant 1.6.x, but I’m running 1.7 with absolutely no problems, so you’ll probably be fine with the latest version.
- You’ll also want the vagrant-hostsupdater plugin. This is optional, but highly recommended. This lets you easily set up custom domains to use.
- VVV recommends installing the vagrant-triggers plugin, but I’ve actually run into some issues with this installed. If you choose to use this, disabling it should be your first step if you have issues.
After installing all the above requirements, just run git clone git@github.com:Varying-Vagrant-Vagrants/VVV.git on the command line where you’d like your local installation and then a vagrant up. Boom! You’re using VVV.
This creates some local sites for you to use (keep in mind, these links will not work unless you have the software up and running):
- The latest stable, released version of WordPress
- The current development version of WordPress
- The current development version of WordPress , with all files
- The version of those development files built with Grunt
- A default dashboard containing several useful tools
Using VVV
Once you’ve set up VVV, you’ll be able to access above sites in your browser and the files inside the folder where you installed VVV. This is a perfect set up to start developing themes and plugins while testing on both the current version of WordPress, as well as the currently in-development version.
There are a few command line commands you’ll want to know when using VVV:
vagrant up – When in the VVV root directory, this will start the virtual machine that powers VVV. It will set up your hosts file with the correct local domain names, update your local versions of WordPress, and run any custom init scripts you have set up. (More on this later!)
vagrant halt – This pauses Vagrant. This is useful when you’re on battery power, aren’t using VVV, and you don’t want to run a virtual machine in the background.
vagrant provision – This runs provisioning scripts. These are the things that VVV uses to make sure it is set up correctly. You generally don’t need to do this all the time, but I recommend running this command if you start having issues and want to start troubleshooting.
vagrant ssh – And this connects you to VVV via ssh. This is probably my favorite command, as it allows you to run commands inside of the virtual machine. I use this mostly to run WP-CLI and PHPUnit things inside of VVV.
Vagrant also has more commands, but these are the ones you’ll mostly need and use when working with it for VVV on a daily basis.
Setting up more local sites
VVV has a nifty feature that allows you to create new sites. If you’re working on a project, it is useful to have a separate local installation for it, rather than squeezing it into one of the other ones. I’ve built a small command line tool to help automate the setup and management of this called Variable VVV .
Setting up VV
If you have Homebrew
installed, you simply run brew install bradp/vv/vv in your terminal application. That’s it!
If you don’t have Homebrew installed, it’s very quick and really useful.
Using VV
Once installed, you can run vv anywhere you’d like. If vv can’t automatically find your VVV installation, you will be prompted for the path. It will also save this into a configuration file in ~/.vv-config so you won’t be prompted again.
You can read the documentation
on Github. It is constantly getting new features and fixes, but for the most part, you’ll want to run the following commands: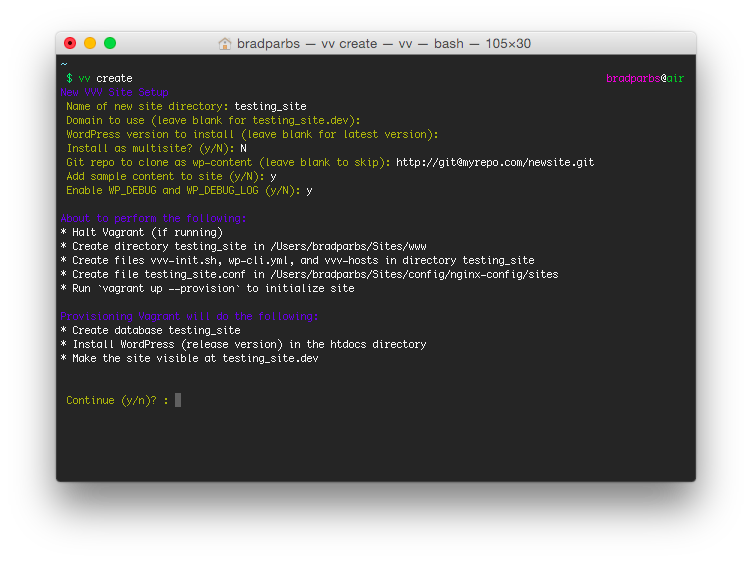
vv list – Lists all local sites.
vv create – Walks you through a wizard to create a new site.
vv delete – Walks you through removing a site.
The wizard that VV walks you through can also all be done with flags on the original command, so creating the same site as in our screenshot could be done like so: vv create --domain testing_site.dev --nametesting_site --debug --sample-content.
VV has a lot more features and information covered in the README on Github , and should be read through. It has support for site blueprints which will install a set of plugins and themes you choose, deployments, and a lot more.
Hopefully, now you’ll be a bit more comfortable installing and using VVV and VV to power your local development. Both projects have active Github repositories, and everyone working on the projects is always happy to help.